Blank walls make any room feel unfinished. But you do not need to spend a lot to fix that. These 30+ cheap decorating ideas for living room walls will help you create a space that looks put-together and stylish. All ideas are simple. All are low cost. You can try any of them today.
30+ Cheap Decorating Ideas for Living Room Walls
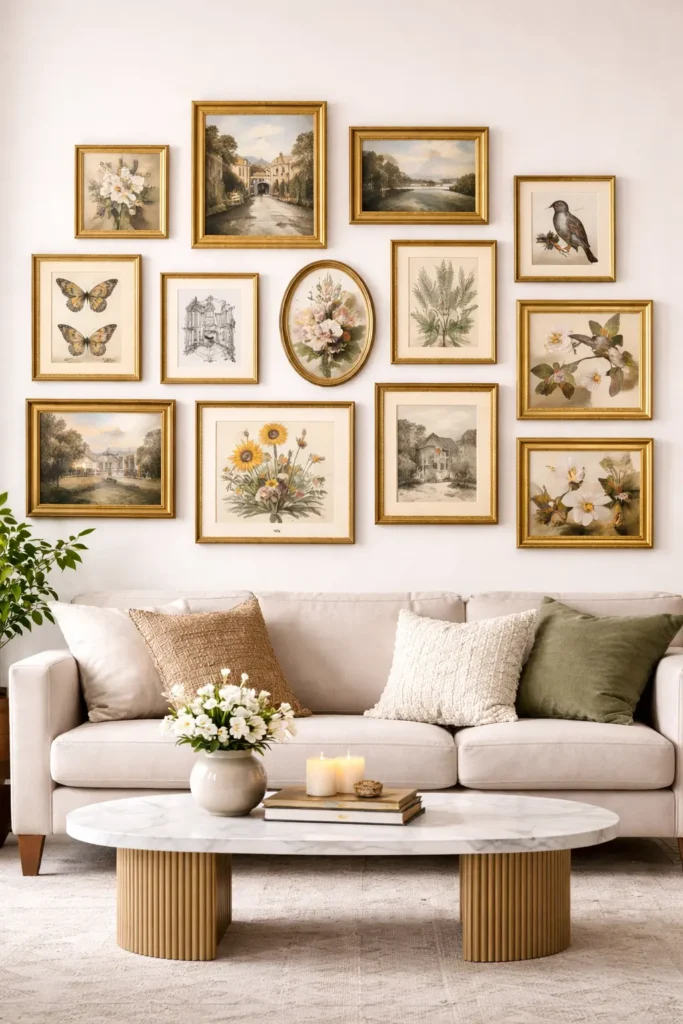
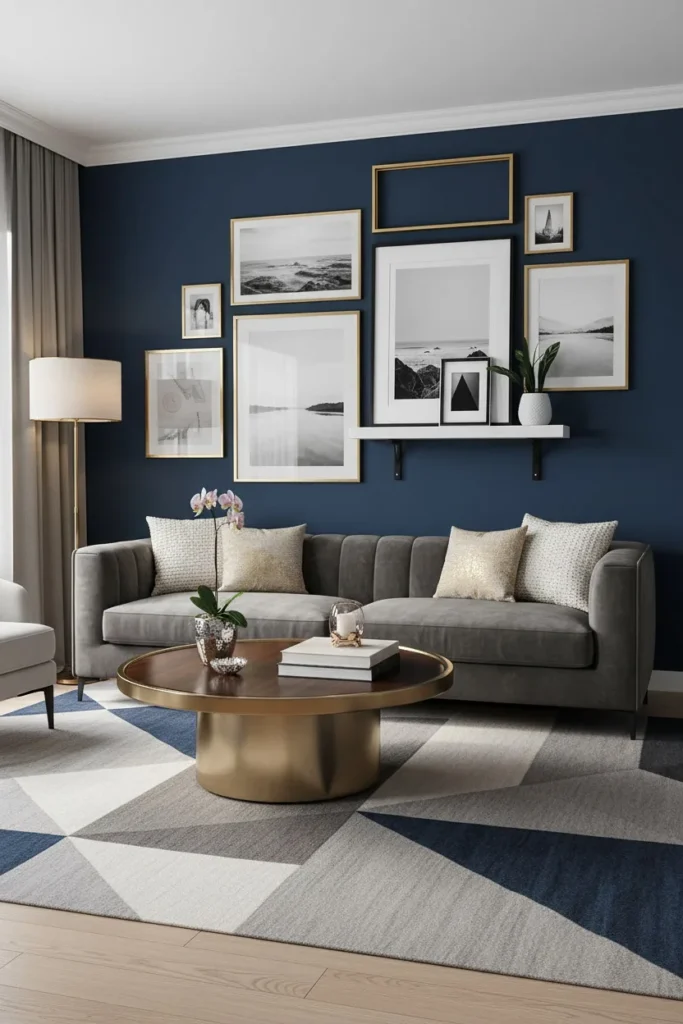
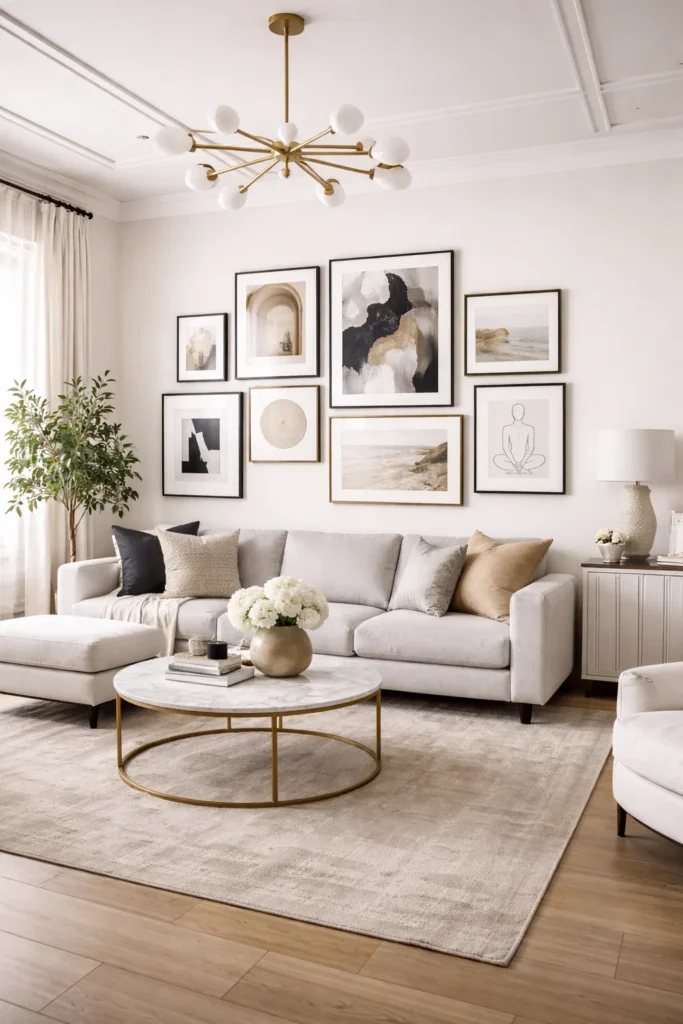
1. Use Thrift Store Frames for a Gallery Wall
Visit your local thrift store. Look for frames in different sizes. Buy whatever catches your eye. Take them home and spray paint them all one color. Black is sharp. White is clean. Gold feels warm. Print free images online. Cut them to size. Fill the frames and hang them together. People will think you spent a lot. You did not.
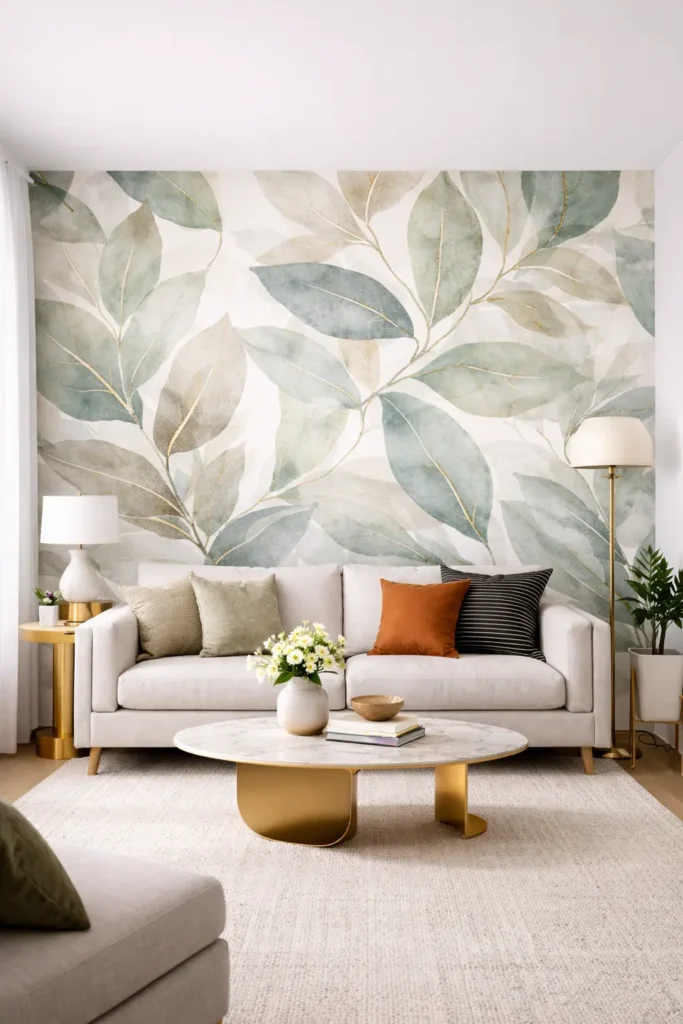
2. Cover One Wall With Peel-and-Stick Wallpaper
Pick the wall behind your sofa. That is the best spot. Apply peel-and-stick wallpaper from top to bottom. Smooth out any air bubbles as you go. When you want to remove it, it peels off without damage. No marks. No mess. This is a lifesaver for renters. One patterned wall completely changes the feel of a room.
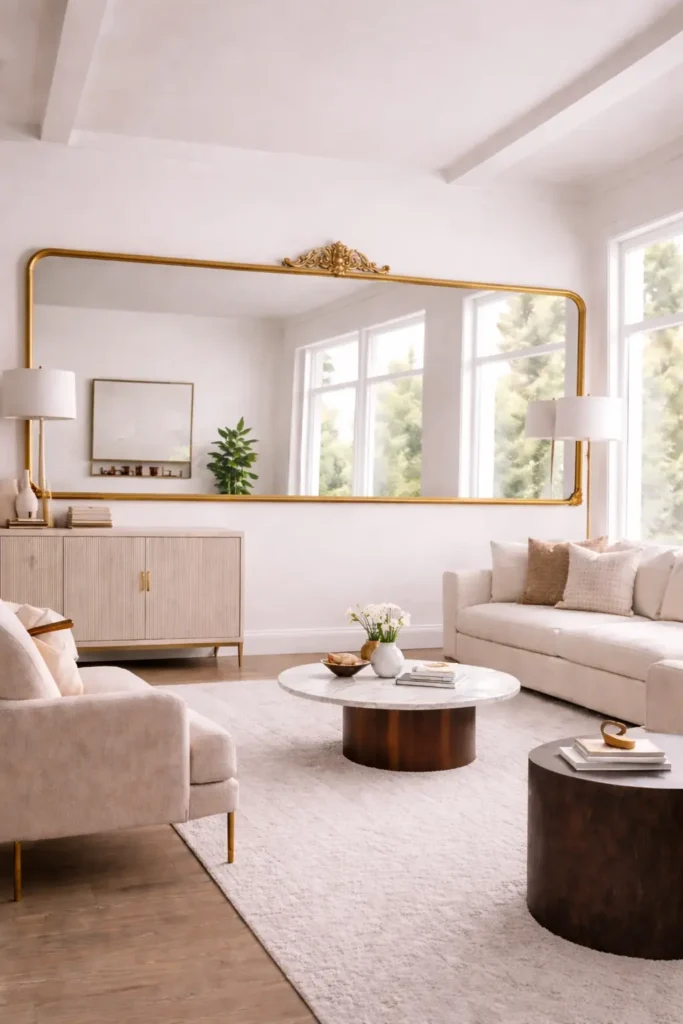
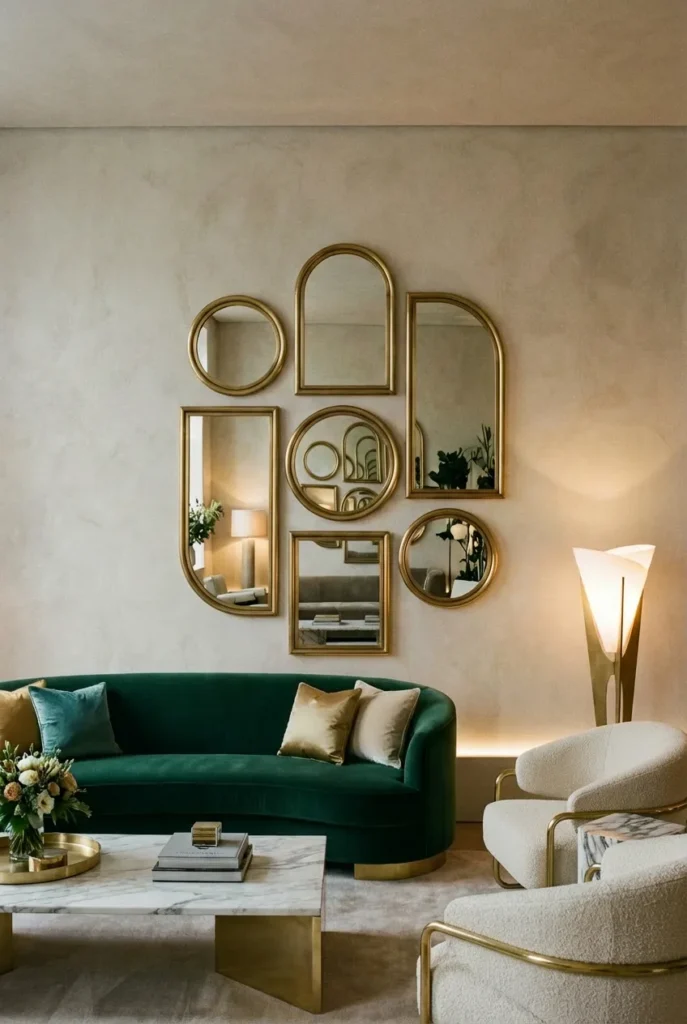
3. Rest a Big Mirror on the Wall
You do not always need to hang things. Buy a large mirror. Stand it on the wall and leave it there. It opens up the room visually. Light bounces off it and fills the space. A thrift store mirror with a bad frame just needs a coat of spray paint. Total cost is low. Visual payoff is high.
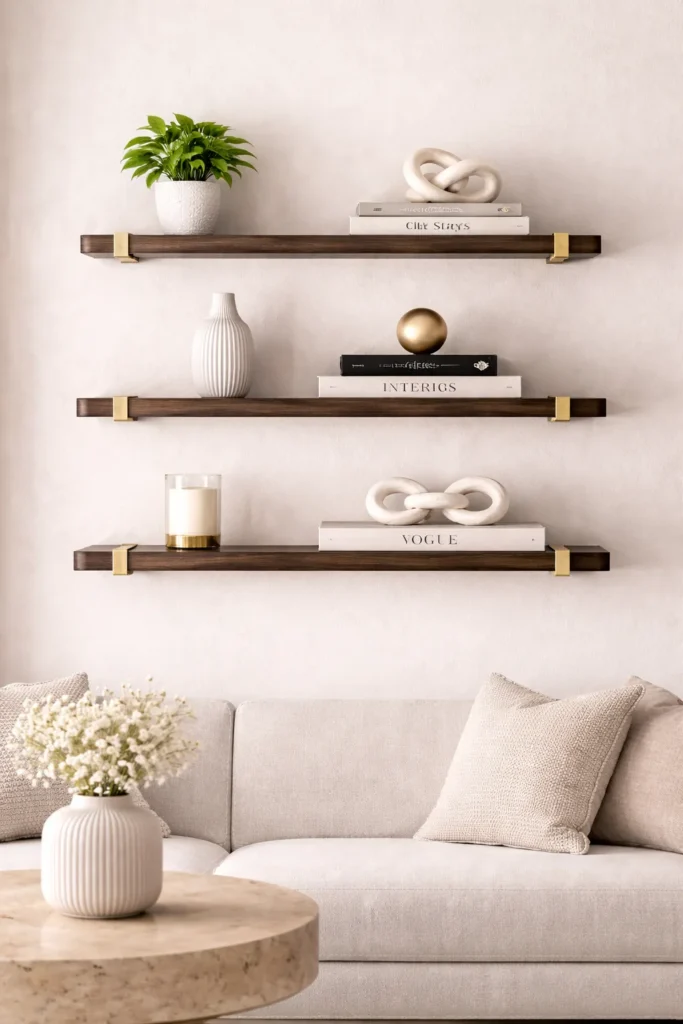
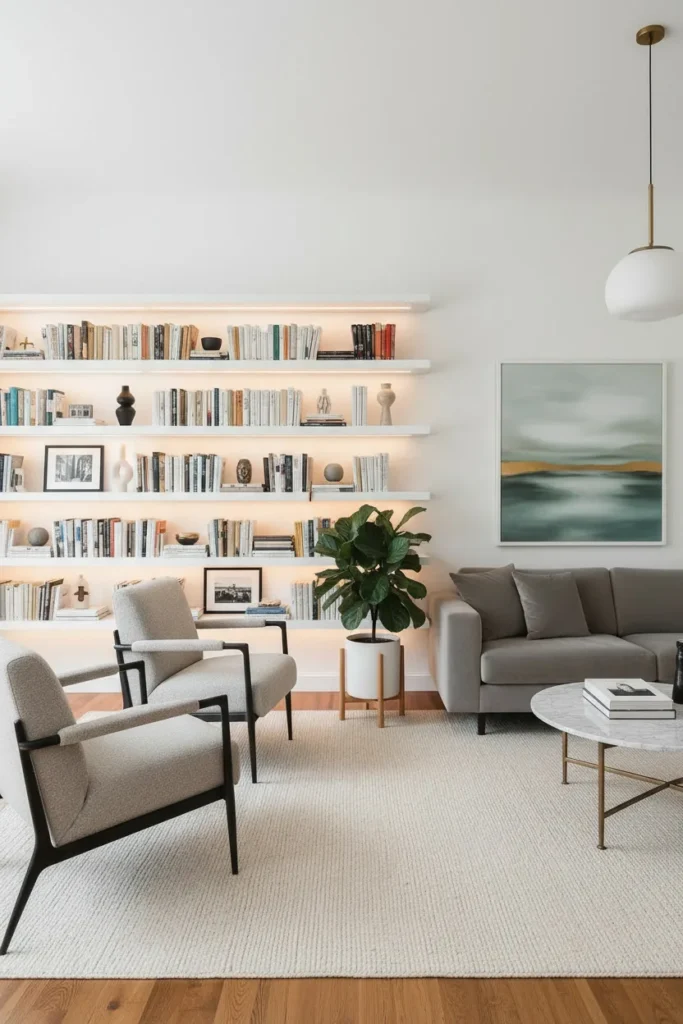
4. Create a Wall Display with Floating Shelves
Buy two or three floating shelves. Mount them at different heights on a bare wall. Now style them with care. One small plant. A few books stacked sideways. A candle. One small object you love. Breathe space between each item. Do not crowd things together. Neat and simple always looks better than full and cluttered.
5. Wrap Fabric Around a Canvas
Head to a fabric store. Find a print or texture you like. Buy a small piece. Lay it flat. Place a canvas frame face-down on top. Pull the fabric around the edges. Staple it to the back. Flip it over. Hang it up. That is your wall art. Fabric adds depth that printed paper simply cannot match.
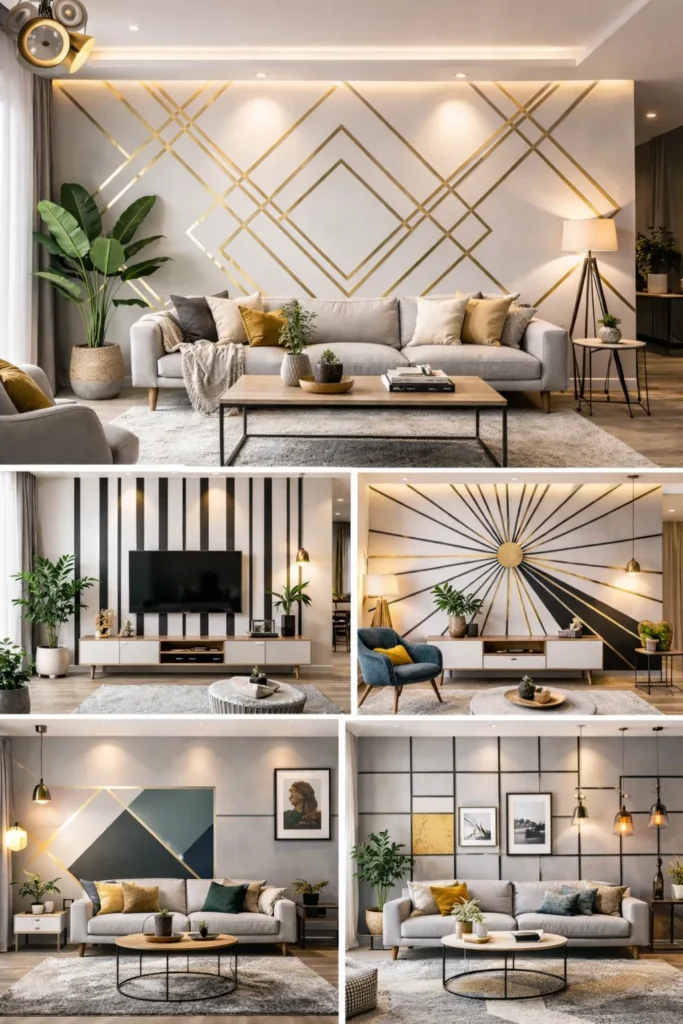
6. Draw Wall Patterns With Washi Tape
Washi tape is cheap and pulls off walls without any damage. Buy a few rolls in colors you like. Use a ruler and pencil to lightly mark your wall. Apply the tape along those lines. Create large diamonds. Or bold vertical stripes. Or a starburst shape from one point. The bigger the design, the more impact it makes.
7. Place a Macramé Hanging Above Your Sofa
Macramé brings texture into a room immediately. It softens walls that feel too hard or too bare. Find a piece that is roughly the same width as your sofa. Hang it centered above the back cushions. It does not need color to stand out. The knotted texture does all the work. Rooms feel warmer and quieter with it up.

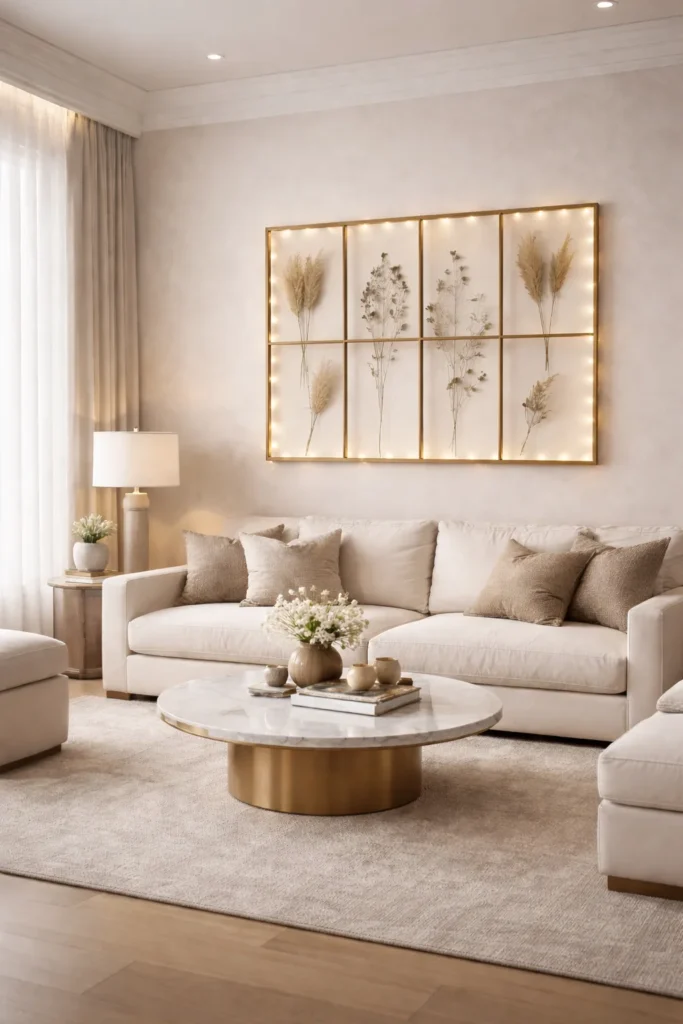
8. Dry Flowers and Put Them in Frames
Pick flowers while they are fresh. Lay them flat inside a heavy book. Close it and stack more books on top. Leave them for seven to ten days. Once dry, arrange them inside simple glass frames. A row of three matching frames looks tidy and refined. This wall display is essentially free if you grow or find your own flowers.

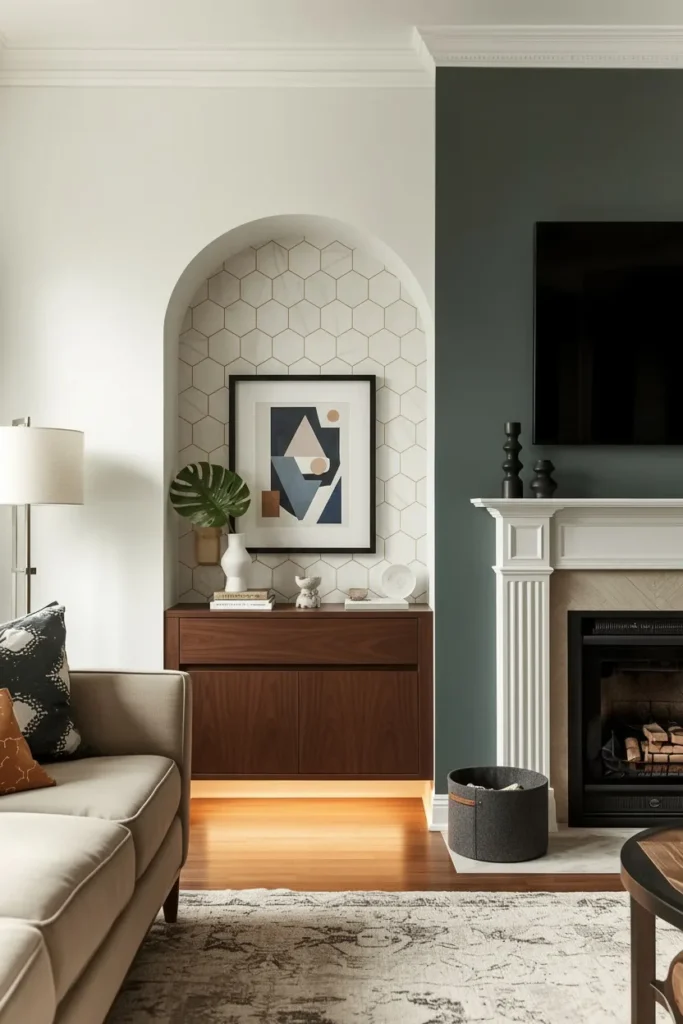
9. Apply Peel-and-Stick Tiles to a Small Section
You do not need to tile an entire wall. Pick a small section instead. The space behind a low shelf works well. So does the wall beside a fireplace. Apply the tiles in that area only. Moroccan and hexagon patterns are very popular right now. They peel off when you want them gone. The effect looks bold and deliberate.
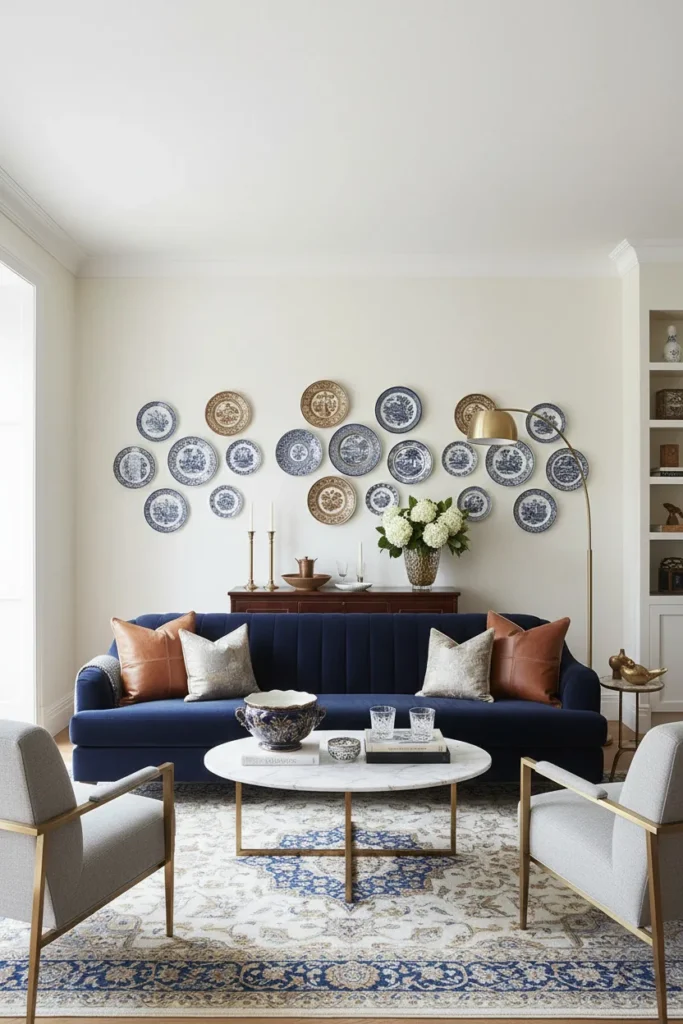
10. Hang a Collection of Vintage Plates
Spend a few weeks visiting thrift stores and charity shops. Look for plates with patterns. Blue and white combinations are classic. Earthy tones feel modern. Collect eight to twelve pieces. Mount them on the wall using adhesive plate hangers. Arrange them in a loose irregular cluster. Stand back and adjust until it feels balanced. This display always draws attention.
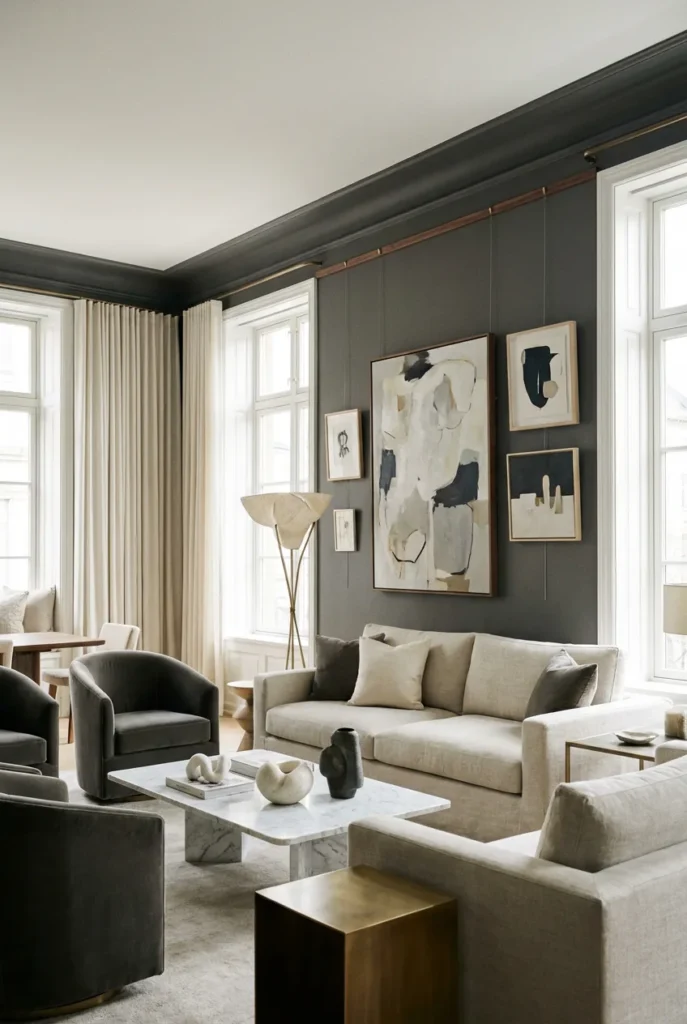
11. Create a Layered Art Display on a Shelf
Place a large framed print on a shelf. Let it lean against the wall at a slight angle. Now place a smaller frame in front of it. Maybe add a small plant beside both. This layered arrangement looks styled and thoughtful. It also avoids putting holes in the wall. Perfect for anyone renting a space or someone who changes their mind often.
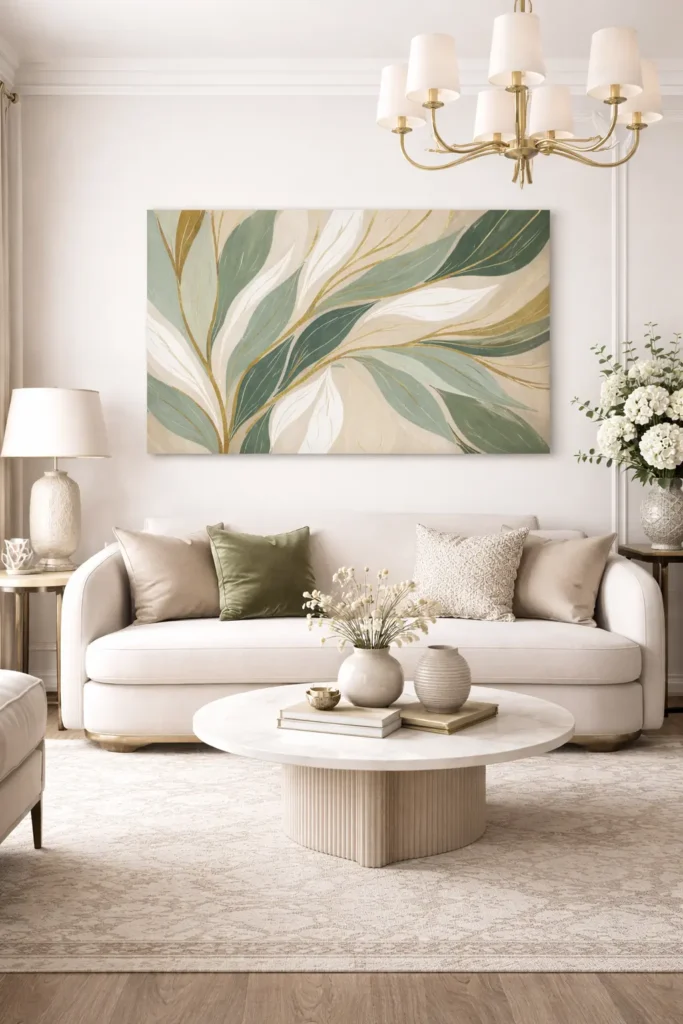
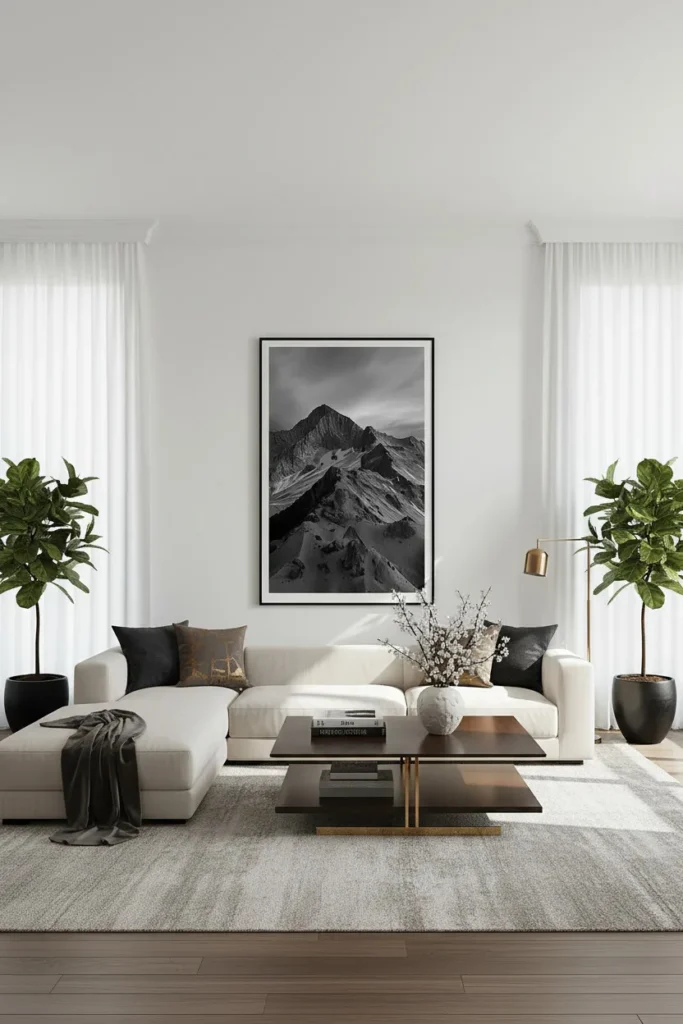
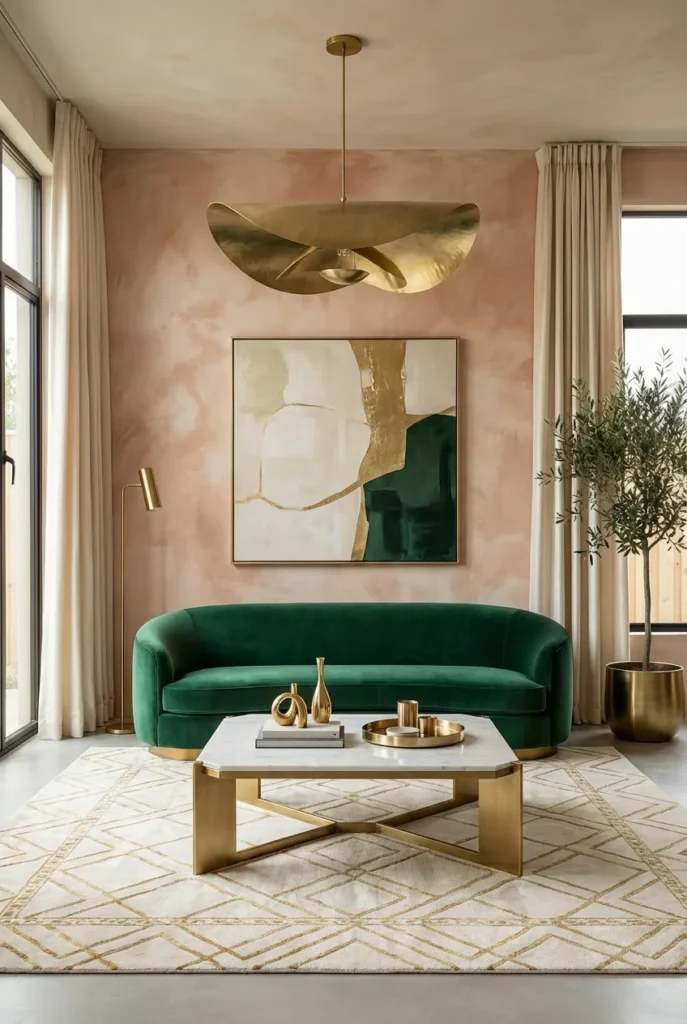
12. Hang One Single Large Print
Go online and find a high-resolution image you love. Download it for free from sites like Unsplash. Take it to a local print shop. Ask them to print it large at least 50 by 70 centimeters. Frame it in a simple black or white frame. Hang it alone on a wide wall. Give it space. One strong image beats ten weak ones every time.
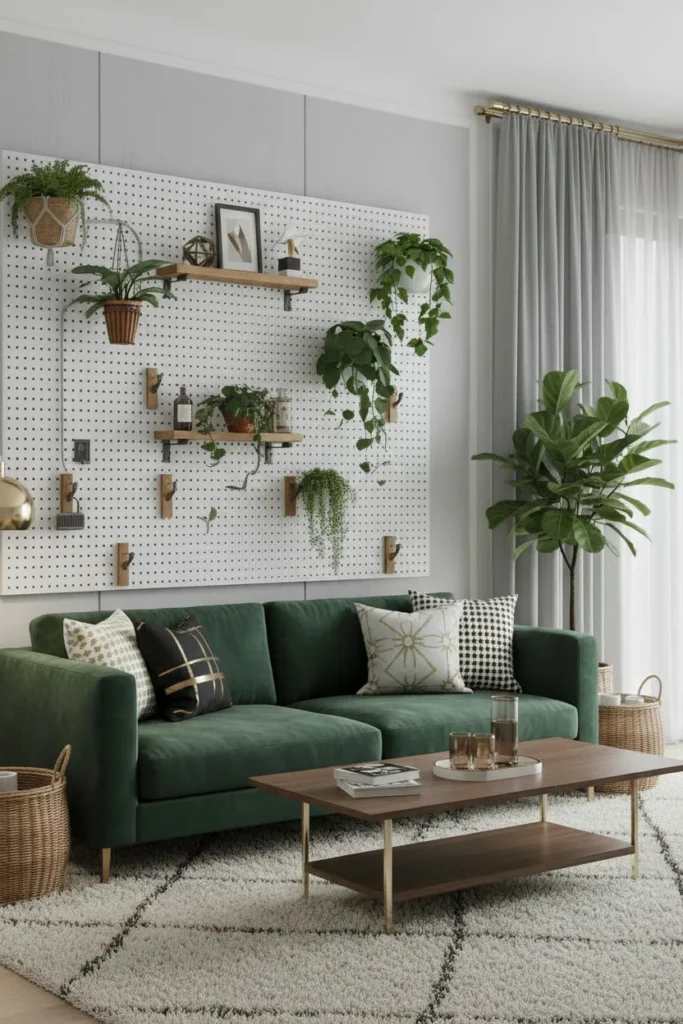
13. Mount a Painted Pegboard on the Wall
Buy a pegboard sheet from a hardware store. Cut it to the size you want. Paint it a color that contrasts with your wall. Let it dry fully. Mount it with small wooden spacers between the board and the wall. This gap lets you add hooks and shelves. Hang plants, small baskets, and decorative items. Rearrange freely without creating new holes.
14. Drape a Tapestry Across a Wide Wall
A tapestry is one of the fastest ways to fill a large wall. Pick one with colors that appear somewhere else in your room. Use a wooden dowel rod along the top. Hang the rod from two nails. The fabric drapes down naturally. It covers a lot of space immediately. It also hides wall imperfections that nothing else can easily fix.
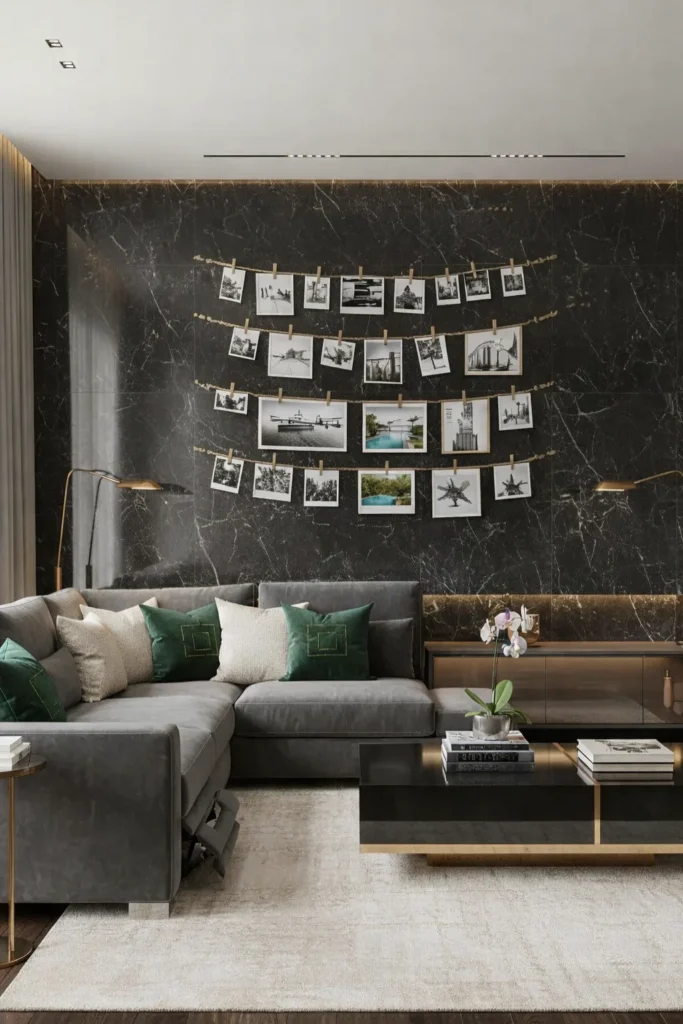
15. String Twine and Hang Photos From It
Put two small hooks into the wall. Tie twine between them tightly. Use wooden mini clips to hang photos and postcards along the line. Add two or three rows for a fuller display. Change the photos whenever you feel like it. New season, new memories, new look. The twine lines also add a horizontal visual structure to the wall.
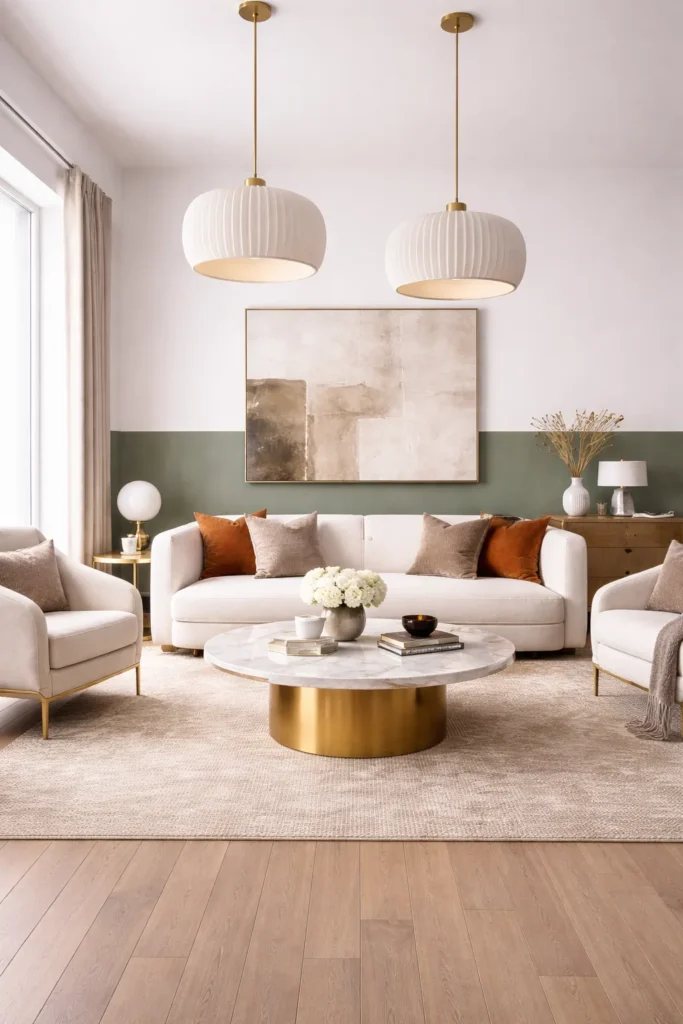
16. Block Color the Lower Half of a Wall
Measure halfway up your wall. Use painter’s tape to mark a clean horizontal line. Paint everything below that line in a different color. Deep green, dusty pink, warm terracotta all work beautifully. Peel the tape off slowly before the paint fully dries. The result is a clean line and two-tone wall that looks designed and intentional.
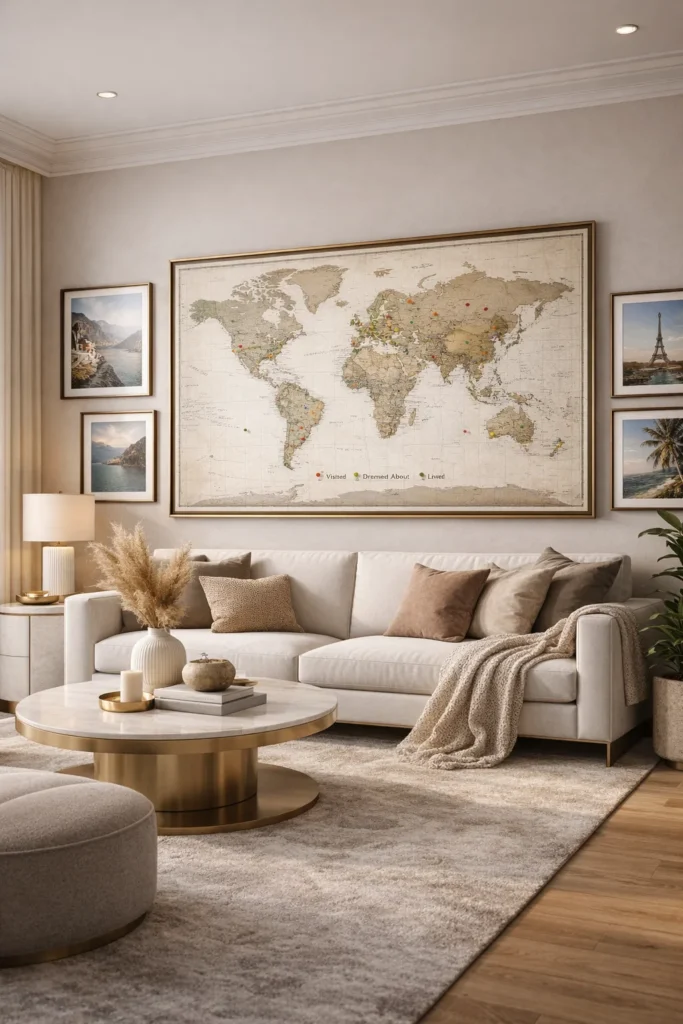
17. Pin Up a Map and Mark Your Life on It
Buy a large map print. Frame it or pin it flat against the wall. Use small colored pins to mark places. Red for visited. Yellow for dreamed about. Green for places you lived. Add a few framed travel photos nearby. This wall tells your personal story. No two people will ever have the same version of it.
18. Style a Corkboard Like a Designer Would
Buy the largest corkboard you can find. If it has a thin frame, paint the frame to match your room. Pin things to it that reflect your life right now. A color swatch. A postcard. A recipe you love. A photo from last summer. Treat it like a living art piece. Update it regularly. It never looks the same twice.
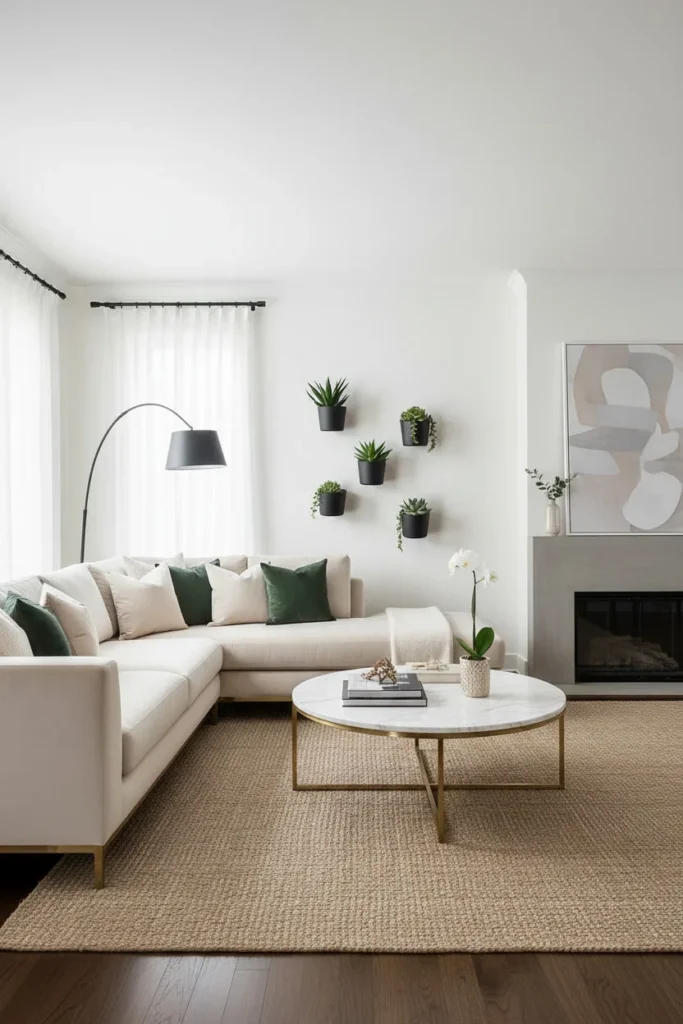
19. Fix Small Planters to the Wall
Buy wall-mounted planters from a garden shop or market. Space them out evenly on one wall. Plant small succulents in each one. Or use air plants which need no soil at all. A light mist of water once a week keeps them alive. Three planters look nice. Five looks even better. Living things on walls bring energy that objects never can.
20. Cluster Several Small Mirrors Together
Gather five or more small mirrors in different shapes. Round ones. Arched ones. Simple rectangles. Keep all the frames in the same color. Hang them close together in a cluster arrangement. Step back and check the overall shape the group creates. Aim for something oval or diamond-shaped overall. The mirrors reflect each other and fill the wall with depth and light.
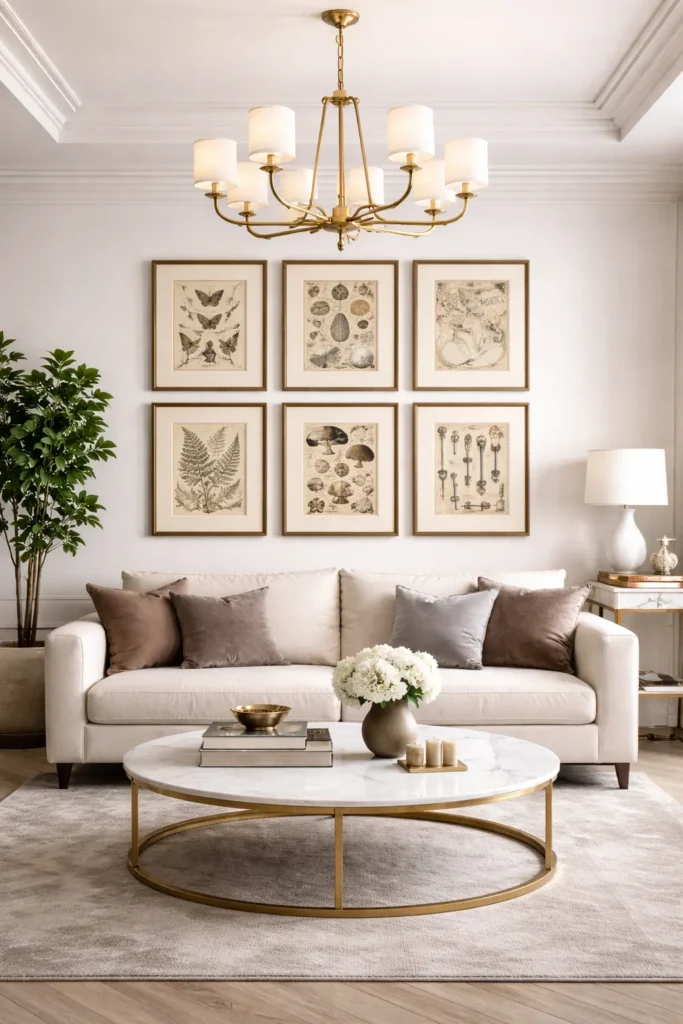
21. Frame Illustrations From Old Books
Find old books at charity shops or flea markets. Look for ones with botanical illustrations, vintage maps, or decorative typography inside. Carefully remove a few pages. Press them flat under heavy books overnight. Frame them in identical simple frames. Hang them in a neat row or a clean grid. The aged paper and detailed illustrations look genuinely beautiful on any wall.
22. Hang Art Using Command Strips Only
Command strips are reliable now. They hold heavier frames than most people expect. Buy the correct weight rating for each frame. Cut paper to match each frame size. Tape the paper shapes to the wall first. Step back and check the layout. Move them around until it looks right. Then replace each paper piece with the real frame. No holes. No repair needed later.
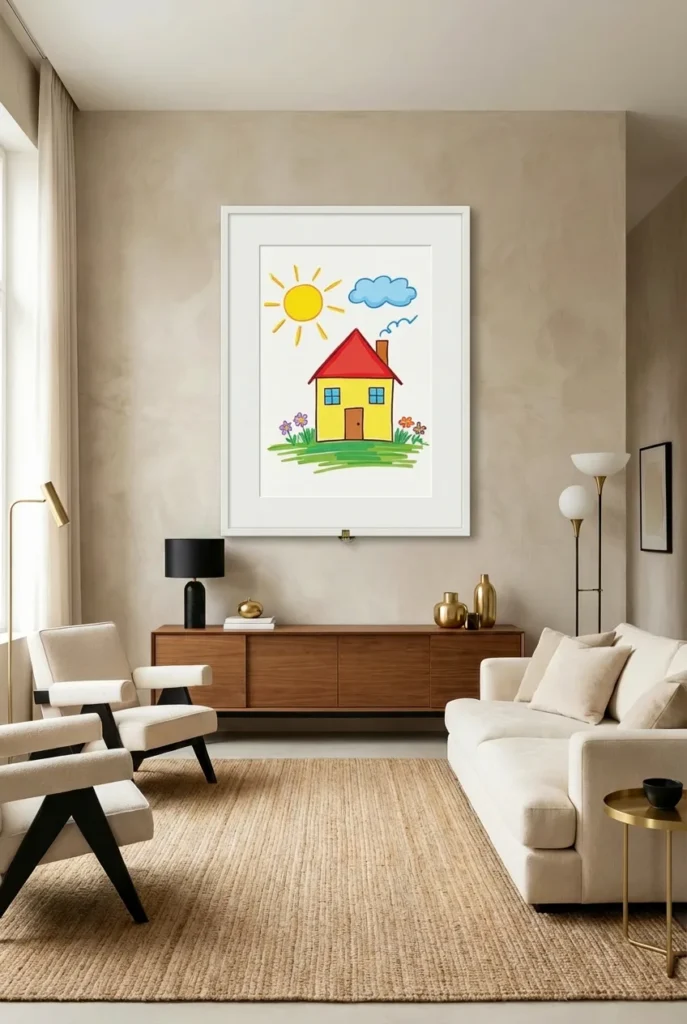
23. Display Your Child’s Drawing as Fine Art
Take your child’s best drawing this week. Put it inside a proper white-matted frame. Hang it on the wall at eye level. Treat it like it belongs in a gallery. Because it does. Use a frame with a removable back so you can swap the drawing monthly. Children feel proud. Guests always comment on it. And it costs almost nothing.
24. Brush Limewash Paint for a Textured Wall
Limewash paint goes on in layers. You brush it loosely in overlapping strokes. The base coat shows through slightly. This creates a soft cloudy effect that looks aged and rich. It photographs beautifully and looks different depending on the light. You can find premixed limewash paint in most home improvement stores now. One wall treated this way needs nothing else added to it.
25. Put Up a Simple Picture Rail
A picture rail is a thin molding strip fixed near the top of your wall. Art hangs from it on long hooks or thin wires. The wire can be adjusted up and down to change the height of each piece. You never need to add new holes to the wall itself. This is ideal if you switch your art regularly or want to hang very heavy pieces safely.
26. Add a Plug-In Sconce to a Dark Corner
A plug-in wall sconce gives you the effect of built-in lighting without any wiring work. Buy one that suits your style. Plug it in. Run the cord down the wall and cover it with a slim cord channel painted to match. Switch it on in the evening. The warm pool of light it creates transforms a flat wall into something atmospheric and inviting.

27. Arrange Books on Wall Ledges by Color
Install narrow wall ledges on a bare wall. Load them with your books arranged by spine color. Start cool on the left blues and greens. Move to warm on the right yellows, oranges, reds. Tuck a small plant or candle between sections. Stand back and look at it. The color gradient effect is striking. And every book is still easy to reach.
28. Hang a Salvaged Window Frame as Decor
Old wooden window frames are full of character. Find one at a salvage yard or weekend flea market. They are usually very affordable. Hang it on your wall just as it is. The aged wood and glass tell a story on their own. Weave fairy lights through the frame for evening warmth. Or press dried botanicals into the panes. Either way it looks considered and interesting.
29. Glue Wood Strips Across One Wall Section
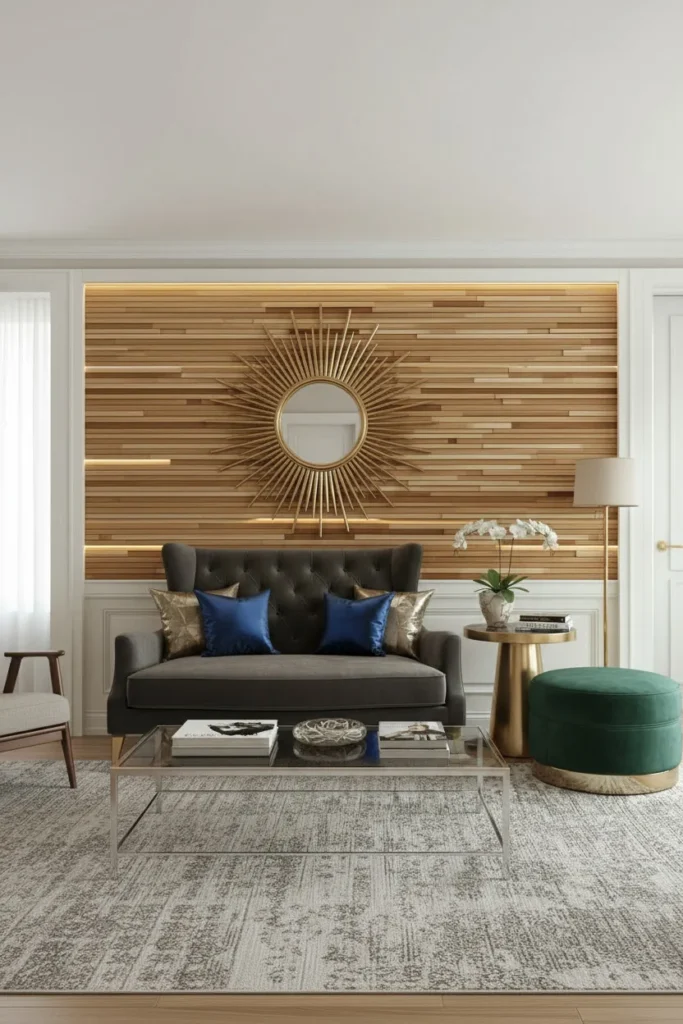
Buy thin wooden strips from a craft or hardware store. Measure and cut them to the same length. Glue them horizontally across a section of wall. Work from the bottom up. Keep gaps tight and even. Once dry, paint over everything in one color. The raised rows of wood catch light all day as it moves. It creates depth and dimension that flat paint never can.
30. Stick Molding to Your Wall for a Panel Look
Measure your wall carefully. Cut thin wooden molding into rectangles of equal size. Glue them onto the wall in a repeated pattern. Space them evenly. Once all pieces are fixed, paint the entire wall including the molding in one deep tone. Navy, forest green, and charcoal all work well. The raised outlines create a paneled effect that looks architectural and expensive.

31. Hang One Oversized Clock With a Strong Design
Find a genuinely large wall clock. Look for one with bold clean numbers or an interesting design. Hang it on a wall where it has room to breathe. Put nothing else around it. The size and design carry the space on their own. It works as art. It works as a practical timepiece. It anchors the room without needing anything else beside it.

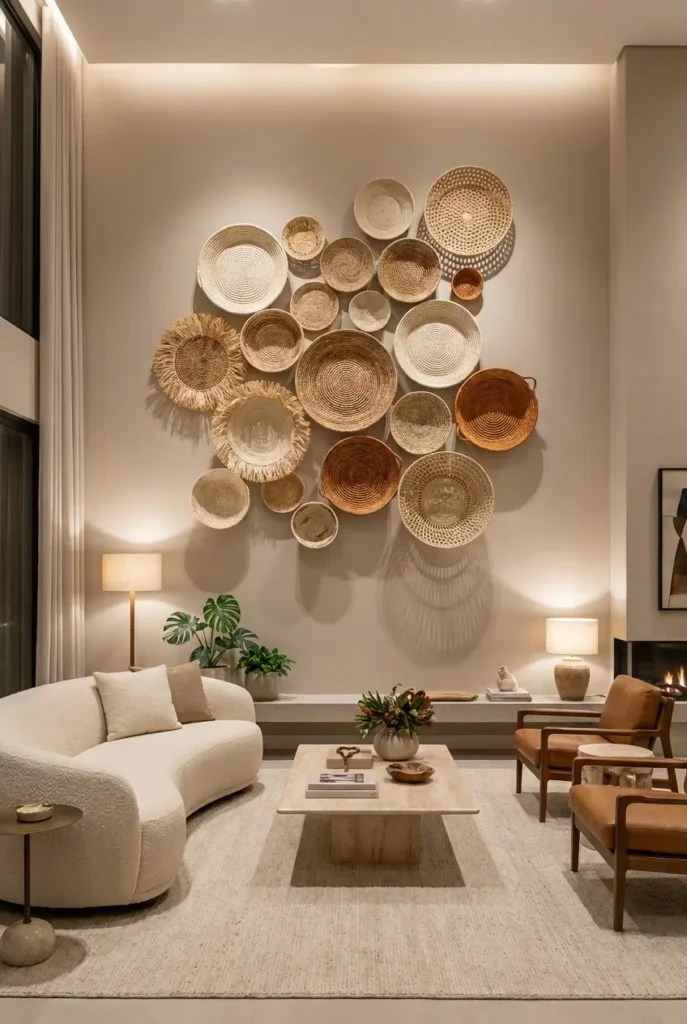
32. Arrange Woven Baskets in a Wall Cluster
Woven baskets belong on walls as much as they do on shelves. Start collecting them from thrift stores and market stalls. Look for variety in size and weave texture. Keep the colors natural creams, tans, warm browns. Mount them in a cluster on your wall. The different textures sit beautifully together. Shadows form between them as light shifts. The effect is rich, warm, and completely original.
33. Paint Three Matching Canvases as a Set
Buy three canvases the same size from any craft shop. Pick two or three paint colors that appear elsewhere in your room. Paint each canvas loosely in a simple abstract style. A wide brushstroke across each one works well. Or a soft gradient from light to dark. Let them dry. Hang all three in a row with equal gaps between them. They read as one complete piece of wall art.
Conclusion
Your walls deserve attention. These 30+ cheap decorating ideas for living room walls show you do not need much money to make a real difference. Pick one idea today. Put it up this weekend. See how it changes the room. Good design is not about big budgets. It is about simple ideas done with care and intention.